To Existing Project
It describes how to integrate Berry theme into an existing project.
Frequently, our customers express a desire to integrate Berry themes into their existing projects rather than initiating new ones. This presents a unique challenge since each project comes with its own distinct architecture and structure. In order to address this challenge, we have taken the initiative to select a free project from MUI and have undertaken the task of seamlessly integrating Berry into it.
Existing Project that we picked:
Dashboard: https://mui.com/material-ui/getting-started/templates/
Live Preview: https://mui.com/material-ui/getting-started/templates/dashboard/
In this guide, we are going to apply the Berry theme to the above project step by step.
Project structures vary widely, making a universal guide unfeasible. To assist, we've selected an MUI project as a foundational reference. Clients can leverage this as a starting point, customizing integration as necessary. However, please note this isn't a strict template to be replicated.
Steps to follow
Backup Your Project: Before making any changes, create a backup of your existing project to ensure you can revert in case anything goes wrong.
Install dependencies and development dependencies: To install a list of dependencies and devDependencies in an existing project using npm or Yarn, follow these steps:
Review package.json: Before adding dependencies, it's a good idea to review your project's package.json file to check for any existing dependencies and devDependencies. You can either move or add the following packages:
Review package.json: Before adding dependencies, it's a good idea to review your project's package.json file to check for any existing dependencies and devDependencies. You can either move or add the following packages:
Dependencies
DevDependencies
Migrate theme to your project: The following files/folders need to be moved to your project to achieve Berry theming
Context
We need to move ConfigContext to have theme property context like theme color, font, etc.
Source Path: full-version\src\contexts\ConfigContext.tsx
Destination Path: src\contexts\ConfigContext.tsx
Hooks
Hooks can be used to access values of the theme and localStorage throughout the project. Two hooks needed to be copied.
Source Path:
full-version\src\hooks\useConfig.ts
full-version\src\hooks\useLocalStorage.ts
Destination Path:
src\hooks\useConfig.ts
src\hooks\useLocalStorage.ts
Themes
This is the main directory to achieve themes. You need to copy the entire directory to the destination. up
Source Path: full-version\src\themes
Destination Path: src\themes
Types
Types related to the theme need to move as well to avoid errors in the compilation. Not all types are needed, but only the following:
Source Paths:
full-version\src\types\overrides - Entire directory
full-version\src\types\config.ts
full-version\src\types\default-theme.ts
full-version\src\types\index.ts
Destination Paths:
src\types\overrides
src\types\config.ts
src\types\default-theme.ts
src\types\index.ts
Config
The default configuration of the theme.
Source Path: full-version\src\config.ts
Destination Path: src\config.ts
TSConfig
Configuration related to TypeScript. Mainly to set 'baseUrl', but you can also copy an entire file if you need.
Source Path: tsconfig.json
Destination Path: tsconfig.json
Set up the App page: Once you migrate the files mentioned in the above steps, you need to set up the App component so that linking can be set between the theme and the app. Do the following in the destination project:
That's all you need to follow, and your project is ready with the Berry theme.
Following is the live preview for an existing project where we followed the above steps and applied a theme. You can compare it with the existing theme and see the differences:
Live Preview (With Berry Theme): https://berrydashboard.com/react/existing_theme_integration/
Live Preview (Without Berry Theme): https://mui.com/material-ui/getting-started/templates/dashboard/
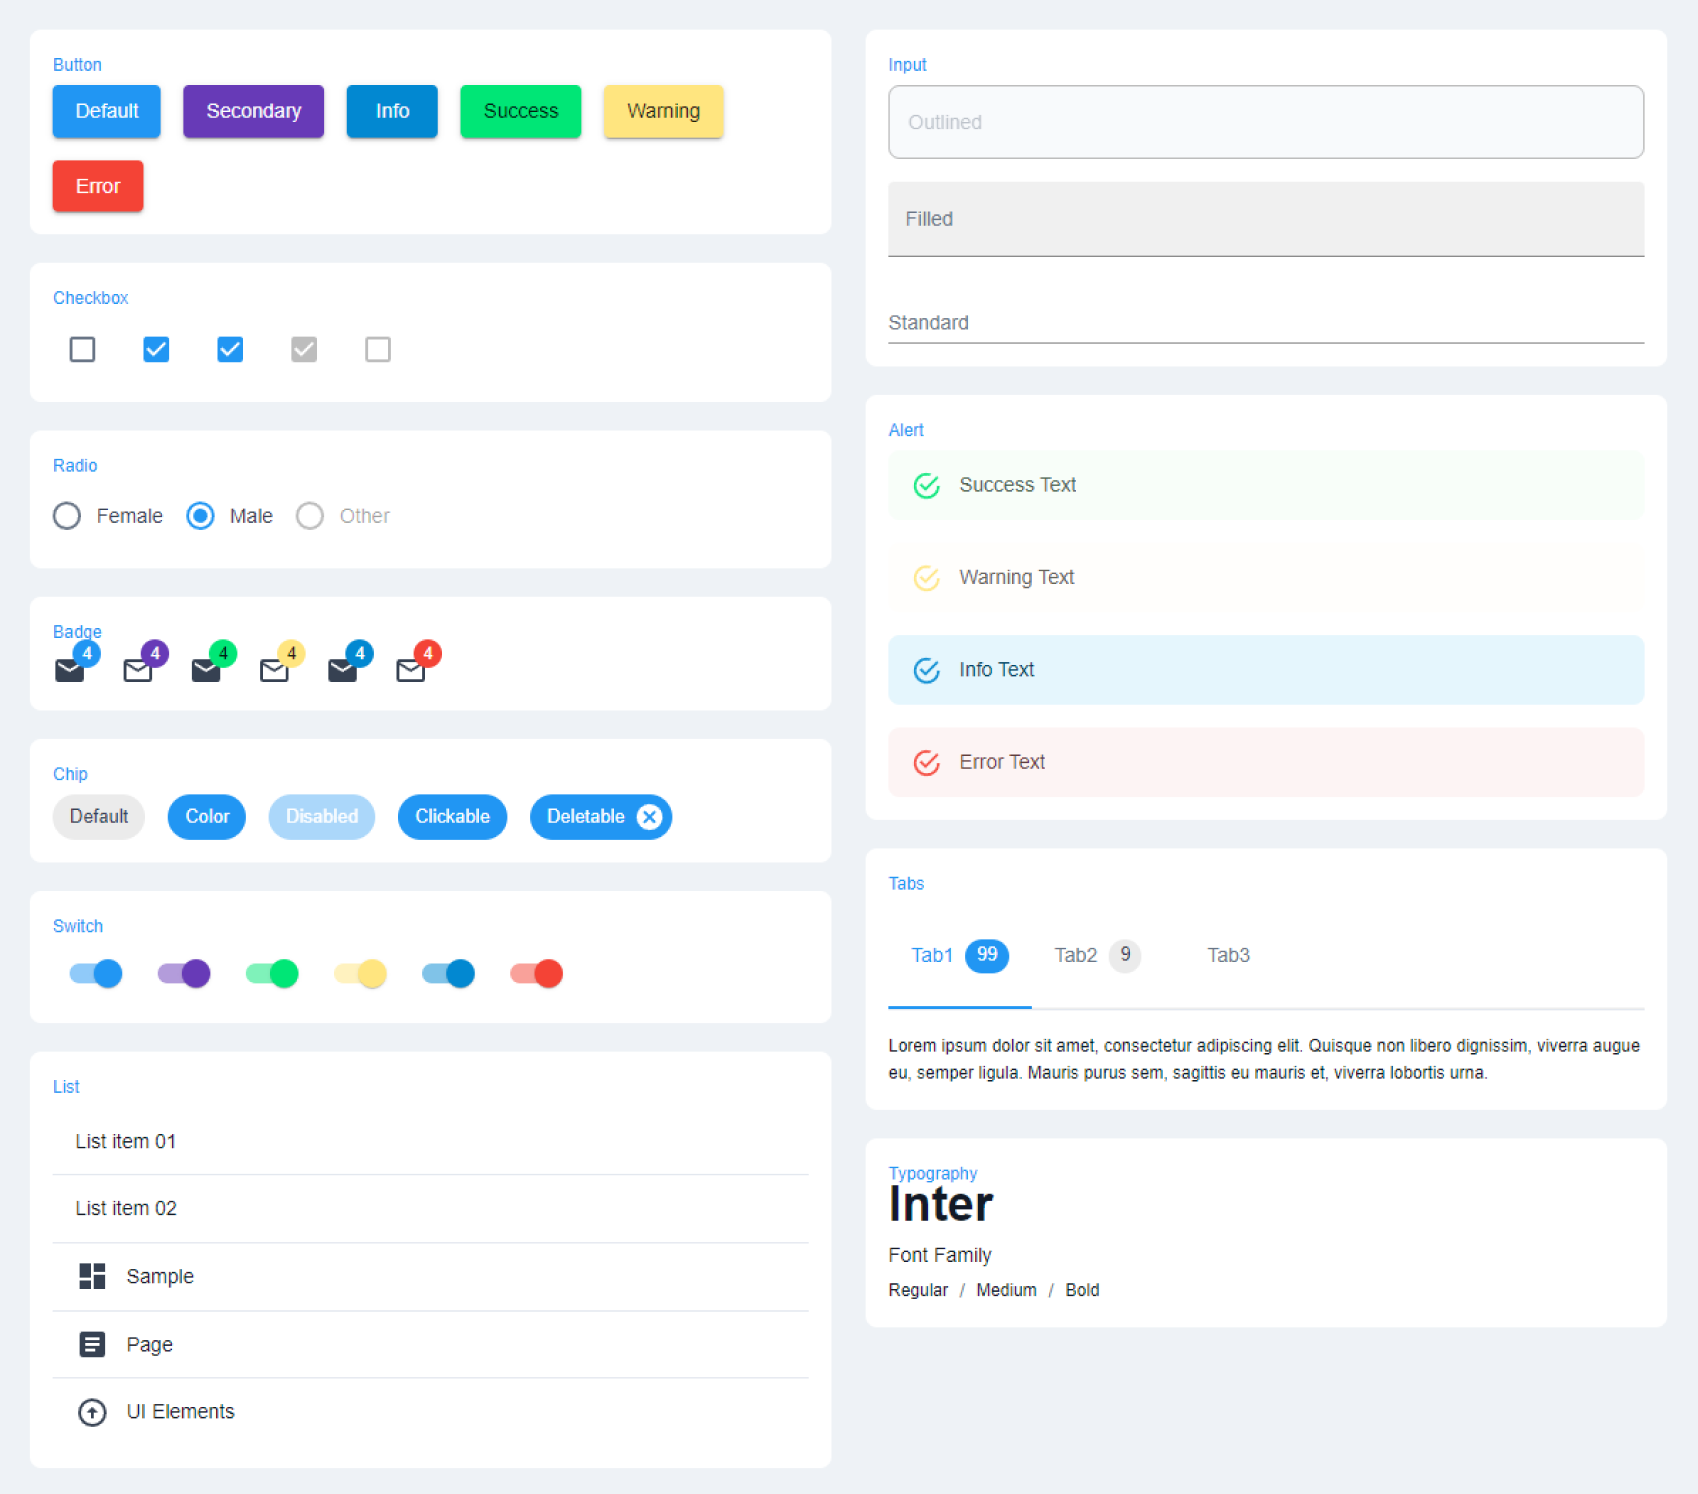
You can see that the app bar and a few other changes have been visible there. We have also added some additional components on the main page to showcase the Mantis theme on those components.

